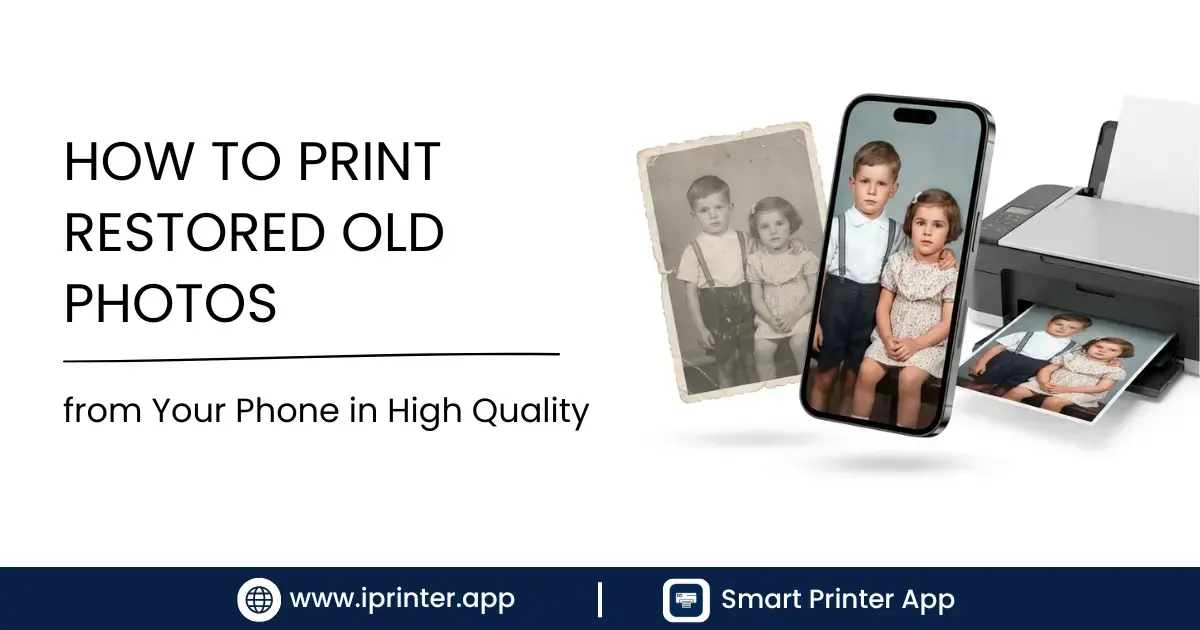
Introduction
There's something deeply moving about holding a printed photo — especially when that photo is a perfectly restored portrait of a grandparent you barely knew, or a vibrant, colorized image of a family gathering from the 1940s. Digital files are convenient, but prints are the form that memories were always meant to take. They belong on walls, in albums, and in frames on bedside tables.
The challenge is that most people's restored old photos stay trapped on a phone screen or buried in a cloud folder. This guide changes that. Whether you have a single restored vintage portrait or an entire archive of digitized family photos, here's exactly how to print them in stunning, archival-quality detail — directly from your phone — using iPrinter, the app built for exactly this kind of work.
1. Why Printing Restored Photos Creates Lasting Family Heirlooms
Digital images have one critical vulnerability: they disappear. Hard drives fail, cloud subscriptions lapse, phones get lost or stolen, and apps get discontinued. But a high-quality archival print — stored correctly — can survive for over 100 years. Physical prints can be passed down, framed, displayed, and touched. They carry weight in a way that a screen image never will.
For old family photos specifically, printing a beautifully restored version is an act of preservation and tribute. When you restore a faded photograph and commit it to a high-quality print, you're giving that moment a second life — one that may outlast the digital world entirely.
The combination of AI restoration tools and modern home printing technology means that what used to require a professional darkroom and thousands of dollars is now achievable in an afternoon from your phone. iPrinter makes the printing half of that equation effortless — handling color accuracy, paper profiles, and resolution scaling automatically so you get professional results without technical expertise.
2. Step 1 — Restore Your Photo Before Printing
Before a single drop of ink touches paper, your photo needs to be in the best possible digital condition. Printing an unrestored faded or scratched photo at high quality simply gives you a very sharp faded, scratched photo. Restoration must come first.
🛠️ Photo Damaged or Faded? Restore It First
If your old photo has scratches, tears, fading, discoloration, or blurred facial detail, restore it before printing. Old Photo Restore uses AI trained specifically on vintage family photographs to repair damage automatically — no technical skill required. Upload, restore, download, then print. It takes minutes and the difference in your final print will be dramatic.
What Restoration Fixes Before You Print
- Scratches and tears — Removed digitally so they don't appear in your print.
- Fading and yellowing — Color and contrast are rebuilt from the underlying data, giving prints vivid, natural tones.
- Blurry or soft faces — AI face enhancement restores sharp facial detail, making portrait prints genuinely stunning.
- Water damage and stains — Cleaned up at the pixel level, invisible in the final print.
- Black-and-white colorization — Adds realistic, context-aware color so prints feel alive and present, not historical.
Once your photo is fully restored in Old Photo Restore, download it at the highest available resolution and save it to your phone's camera roll — ready for the next step.
3. Step 2 — Prepare Your Photo File for High-Quality Printing
Getting the file settings right before printing is what separates a good print from a great one. These are the technical settings that make the difference between a soft, slightly dull print and a sharp, vibrant, gallery-quality result.
Resolution: The Most Important Setting
For photo-quality prints, your image needs a minimum of 300 DPI (dots per inch) at the intended print size. This is the industry-standard threshold below which prints begin to look soft or slightly pixelated at normal viewing distance. Here's the practical math:
| Print Size | Minimum Pixels Needed (300 DPI) | Quality |
|---|---|---|
| 4×6 inches | 1,200 × 1,800 px | ✓ Standard |
| 5×7 inches | 1,500 × 2,100 px | ✓ Standard |
| 8×10 inches | 2,400 × 3,000 px | ↑ Recommend 600 DPI scan |
| 11×14 inches | 3,300 × 4,200 px | ↑ Recommend AI upscale |
| 16×20 inches | 4,800 × 6,000 px | ⚠ High-res source needed |
File Format: JPEG vs. TIFF
- JPEG (high quality) — The standard for phone-based printing. Export or save at 90–100% quality. Universally compatible with all printing apps and home printers.
- TIFF — Lossless format for archival masters. Best for editing and professional printing labs. Some printing apps on mobile don't support TIFF natively — check before uploading.
Color Space: Always sRGB for Phone Printing
Make sure your restored photo is saved in the sRGB color space before printing from your phone. Most smartphones and consumer printers are optimized for sRGB, and using Adobe RGB or ProPhoto RGB profiles can cause colors to print dull or slightly desaturated. AI restoration apps like Old Photo Restore automatically output in sRGB, so this is usually handled for you.
4. Step 3 — How to Print Restored Photos from Your Phone Using iPrinter
iPrinter is designed to make the journey from phone to print as frictionless as possible — without sacrificing any of the technical quality that makes printed photos worth keeping. Here's the exact workflow:
- 1Open iPrinter on your iPhone or Android
Download the app and connect to your home Wi-Fi printer in seconds. iPrinter auto-detects compatible printers on your network — no manual setup needed.
- 2Select your restored photo from your camera roll
Browse your photo library and select the restored image. iPrinter displays a resolution check and alerts you if the image needs upscaling for your chosen print size.
- 3Choose your print size and paper type
Select from standard sizes (4×6, 5×7, 8×10) or set a custom size. Then match the paper profile to what's loaded in your printer — glossy, satin, matte, or canvas.
- 4Preview and adjust with one tap
iPrinter's preview shows an accurate on-screen simulation of how the print will look, including color rendering for your specific paper type. Adjust crop, brightness, or border if needed.
- 5Print — and hold your memory in your hands
Tap Print. iPrinter sends the full-resolution file to your printer with the correct color profile applied. In minutes, your restored family photo is a real, holdable, frameable print.
5. Step 4 — Choosing the Right Paper for Vintage Photo Prints
Paper choice has a bigger impact on the feel and longevity of your print than almost any other variable. Different paper surfaces interact with light differently, creating prints that can feel dramatically different even from the same image file. For vintage family photos specifically, paper texture and finish play a critical role in the emotional tone of the final print.
Glossy Photo Paper
The classic choice. High-gloss surfaces produce the most vibrant color saturation and sharpest perceived detail. Colorized vintage photos pop dramatically on glossy paper. The trade-off: fingerprints and reflections are visible under certain lighting, which can make framed glossy prints frustrating in bright rooms.
Satin / Lustre Photo Paper
The most versatile option for old family photos. Satin paper delivers excellent color depth and sharpness with a subtle texture that significantly reduces glare and fingerprint visibility. It's the preferred finish for portrait prints and family album pages — professional labs use satin (often called lustre) as their default for good reason.
Matte Photo Paper
The best choice for a true vintage aesthetic. Matte paper produces a soft, non-reflective surface that gives black-and-white and sepia-toned prints a timeless, tactile quality. If you're printing restored photos specifically for an old-style family album, matte paper honors the aesthetic of the originals while delivering modern sharpness.
Fine Art / Cotton Rag Paper
For the most important prints — a grandparent's portrait, a wedding photo from the 1930s — cotton rag fine art paper produces heirloom-quality results that can last 200+ years with archival inks. More expensive and requiring a compatible printer, but the result is genuinely extraordinary.
6. Best Apps to Restore and Print Family Memories in 2026
The best workflow combines a dedicated restoration tool with a dedicated printing tool. Here are the top apps for each stage of the process:
AI restoration built specifically for vintage family photographs. Repairs scratches, fading, tears, and facial detail automatically. The essential first step before any quality print.
Free to StartConnects to any Wi-Fi home printer in seconds. Handles resolution scaling, color profiles, and paper matching automatically. The easiest way to print photos from iPhone or Android.
iOS & AndroidAdds realistic, context-aware color to black-and-white vintage photos. Excellent skin tone accuracy and natural background colors. Works online — no app download required.
Browser-basedScans multiple physical photos at once using your phone camera. Faster than a flatbed scanner for large collections and includes basic restoration filters.
iOS & AndroidFree cloud storage for your digitized and restored photo collection. Automatically organizes by date, face, and location. Easily share restored photos with family members.
FreeThe industry standard for manual restoration. Neural Filters and Content-Aware Fill handle complex damage that AI tools miss. Best for heavily damaged or historically significant photos.
Advanced7. Print Size Guide for Vintage & Restored Family Photos
Choosing the right print size for an old family photo is about more than just paper dimensions. It's about matching the emotional weight of the image to its physical presence. A portrait of your grandparents doesn't belong as a 4×6 on the fridge — it deserves a frame.
| Print Size | Best Use Case | Min. Source Resolution | Recommended For |
|---|---|---|---|
| 4×6 inches | Albums, collections, gifting | 1,200 × 1,800 px | Any restored photo |
| 5×7 inches | Desktop frames, bedside tables | 1,500 × 2,100 px | Portraits, candid shots |
| 8×10 inches | Wall frames, gift prints | 2,400 × 3,000 px | 600 DPI scan recommended |
| 11×14 inches | Statement wall art | 3,300 × 4,200 px | AI upscale required for most |
| 16×20 inches | Gallery wall centrepiece | 4,800 × 6,000 px | High-res original needed |
📸 Low-Resolution Source Photo?
Many old photos, once scanned, are lower resolution than needed for large prints. Old Photo Restore includes AI upscaling that can increase your image resolution 2–4× while preserving and enhancing detail — making prints up to 11×14 look sharp and beautiful from standard home scans.
8. Pro Tips for Gallery-Quality Prints Every Time
- ✓Always restore before printing
An AI-restored image printed at 300 DPI on satin paper looks professional. The same image unrestored looks like what it is — a faded, scratched old photo, reproduced faithfully. Use Old Photo Restore first, every time.
- ✓Let the printer warm up
Run a test print on regular paper before committing to expensive photo paper. This flushes old ink from print heads and ensures the first real print is perfect, not a warm-up draft.
- ✓Match your paper profile exactly in iPrinter
Selecting the wrong paper type in the app (e.g., "glossy" when you've loaded matte paper) causes color casts and incorrect ink saturation. iPrinter's paper matching system makes this simple — just confirm the loaded paper type before printing.
- ✓Handle prints by the edges
Freshly printed photos are vulnerable to fingerprints and smears. Hold prints by the edges or use clean cotton gloves until the ink fully cures (typically 24 hours for pigment ink prints).
- ✓Store or frame with UV protection
UV light is the primary cause of long-term print fading. Frame prints behind UV-protective glass, or store them in acid-free sleeves away from direct sunlight. This alone can triple the lifespan of a print.
- ✓Print multiple copies as gifts
Once you've invested in restoring a photo, printing is cheap. Print copies for parents, grandparents, siblings, and cousins. A beautifully restored and printed family photo is one of the most meaningful gifts you can give — and it costs less than a coffee.
🔗 Trusted Resources for Photo Printing & Preservation
High-authority references for deeper reading on photo printing standards:
Official storage and handling guidance for photographic prints from America's national library.
Research archive and best practices for preserving and displaying historical photographs.
Expert guidance on choosing between 300 DPI and 600 DPI for archival scanning projects.
Clear technical breakdown of DPI, PPI, and resolution settings for home and professional photo printing.
Conclusion
The photographs tucked away in old albums and storage boxes deserve better than digital obscurity. With today's AI restoration tools and mobile printing technology, you have everything you need to bring those images back to life — sharper, more vibrant, and more beautiful than they have been in decades.
The workflow is simple: if your photo is damaged or faded, start with Old Photo Restore to repair and enhance it first. Then bring it to print using iPrinter — the fastest, most accurate way to get gallery-quality results from your phone. Print them large. Frame them well. Give them as gifts. Put them on walls where they can be seen every day. Your family's history deserves to take up physical space in the world.
FAQ — Printing Old Photos from Your Phone
9. FAQ — Printing Old Photos from Your Phone
Yes — iPrinter connects your iPhone or Android to any Wi-Fi-enabled home printer in seconds. Simply select your restored photo, choose your print size and paper type, and print. No computer required.
If the photo is damaged, faded, or scratched — absolutely yes. Printing an unrestored photo simply gives you a sharp version of a damaged photo. Use Old Photo Restore to repair the image first, then print. The difference in the final print is dramatic.
300 DPI is the standard minimum for photo-quality prints. For standard 4×6 and 5×7 prints, 300 DPI is ideal. For 8×10 or larger, source your image from a 600 DPI scan if possible. iPrinter automatically scales your image correctly for the selected print size and shows a quality alert if resolution is insufficient.
Satin or lustre photo paper is the most versatile choice — excellent color depth, reduced glare, and it suits both portrait and landscape shots. For a true vintage feel with black-and-white or sepia photos, matte paper creates a timeless tactile quality. For wall-display statement pieces, consider fine art cotton rag paper with archival inks.
Save your restored photo in the sRGB color space (most AI restoration apps do this automatically). In iPrinter, select the correct paper profile for your loaded paper type. The app's preview simulation shows an accurate representation of how the print will look on your specific paper before you commit to printing.
Prints made with pigment-based inks on quality photo paper, stored away from UV light and humidity, can last 80–100+ years. Frame prints behind UV-protective glass and store album pages in acid-free sleeves for maximum longevity. This is comparable to — and in many cases exceeds — the lifespan of original film-era prints.
Yes — and the results can be extraordinary. After colorizing a black-and-white photo using Old Photo Restore's AI colorization feature, print the colorized version on glossy or satin photo paper using iPrinter. Seeing a colorized portrait of an ancestor printed in full color for the first time is genuinely moving.

Start Printing Your Family Memories Today
Download iPrinter and connect to your home printer in seconds. Professional-quality results from any iPhone or Android — no technical expertise needed.